Tuesday, October 28th, 2014
Literally every single t-shirt, no-sew DIY on the internet is a crop top. This one isn’t. It can be if you want it to be! But…I mean it’s almost November. Do you live in Florida or L.A.? Then you’re allowed to make it a crop top. If not, that’s just silly. This is my blog so what I say goes.
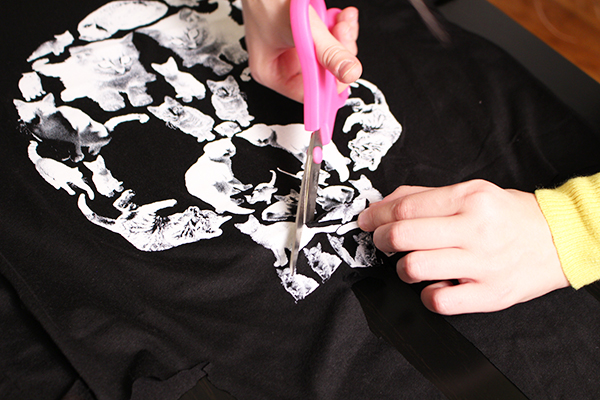
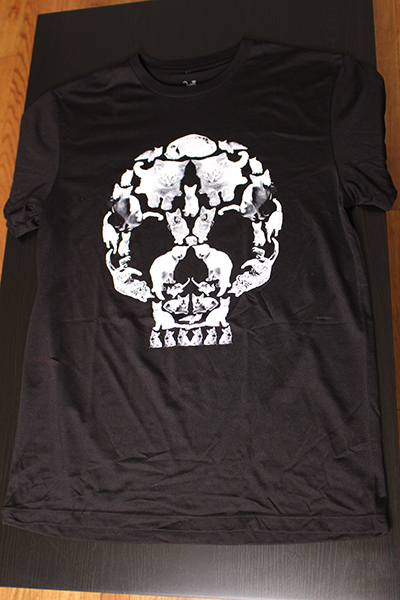
A few days ago my lovely roommate Kristen, who subscribes to Loot Crate, gave me this Halloween, unisex graphic t-shirt with a skull on it. But when you look closer, THE SKULL IS MADE OF PICTURES OF CATS! Mind blown. Kristen knew I love me some cat t-shirts and handed it over.
The shirt was a little bit big, so I scoured the internet for an easy way to make it look sleek that required no sewing. And when I think “sleek,” I don’t think t-shirt with the sleeves and bottom portion cut off. So a surfer-girl, sixteen-year-old-with-the-abs-of-a-spartan-boy crop top wasn’t going to fly.
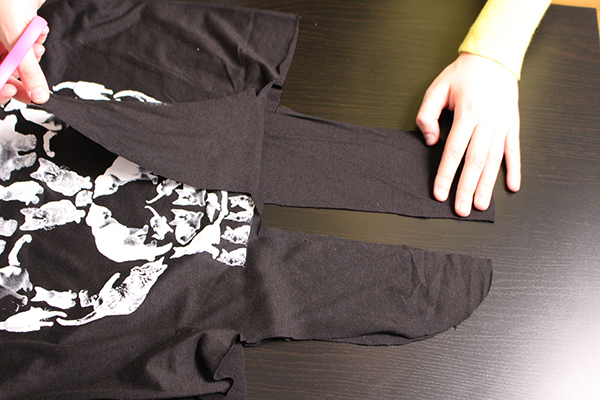
So here’s how I created a tie-front, regular ol’ length top our of a baggy unisex t-shirt. I slightly modified this tutorial, so thanks for helping me out.
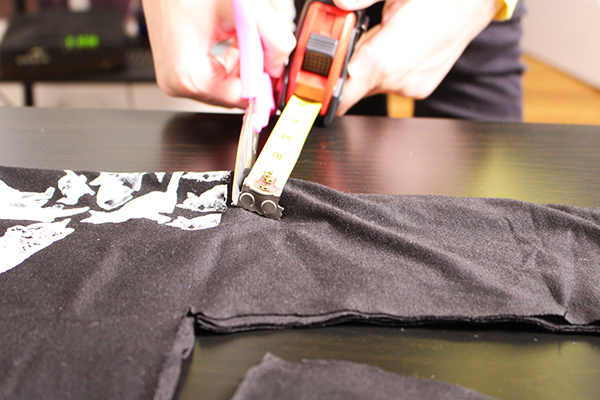
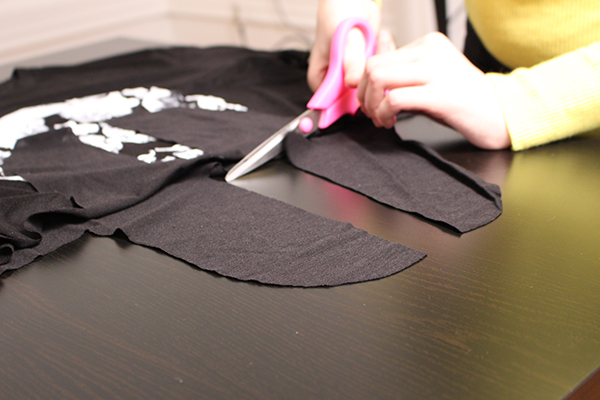
 I folded the shirt in half and measured five inches away from the fold.
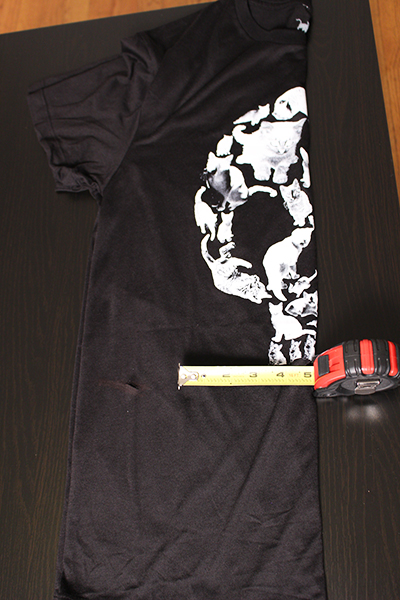 I cut the t-shirt bottom off, until I hit the end of my measuring tape.
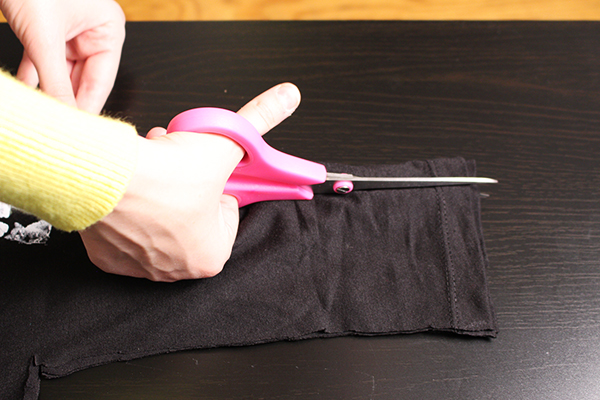
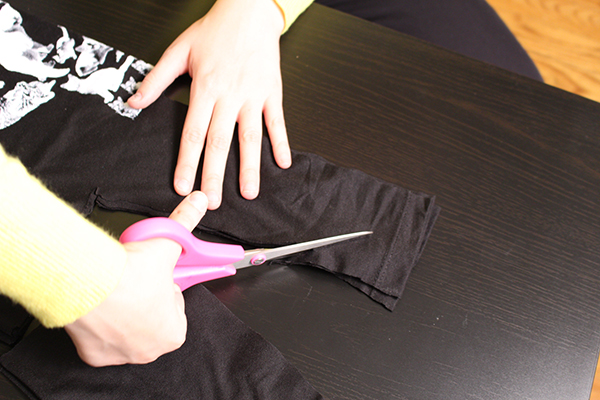
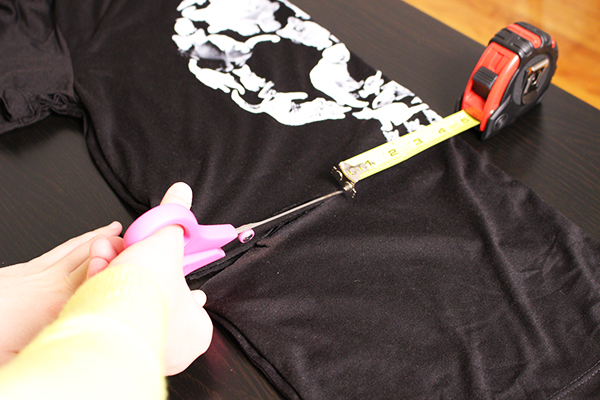 Then I cut down, towards the bottom of the shirt in a straight line from the end point of my first cut.