Sunday, June 14th, 2020
Hi there, I no longer update this blog. For two years I had a blast making content about my clothes, makeup and hair! A few highlights: getting featured on Cosmo, being pinned on Pinterest very often, and hitting 72,000 unique visitors a month.
Now I spend my time being a more serious journalist, making videos about identity and social justice for Conde Nast, NBC, and more. Check out my work here.
I’ve made most the posts on this blog private, but a few of the hits still live here.
Thanks for reading!
-Emmy
Monday, June 22nd, 2015
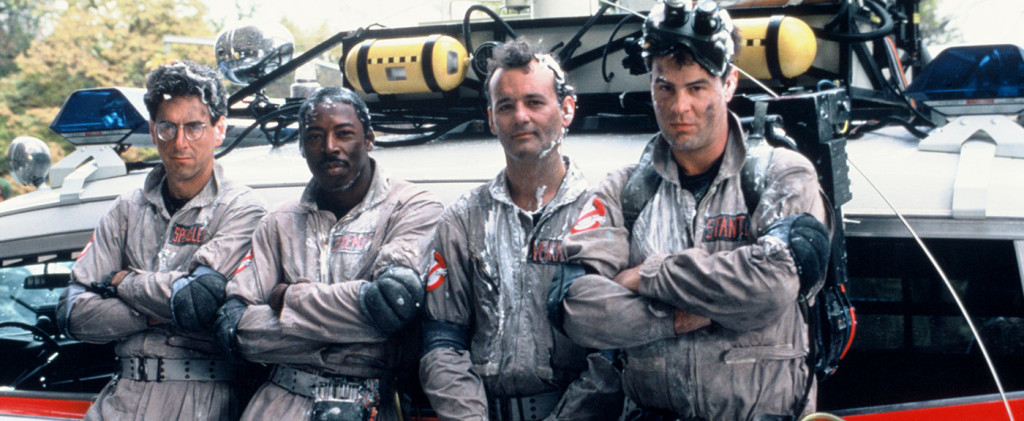
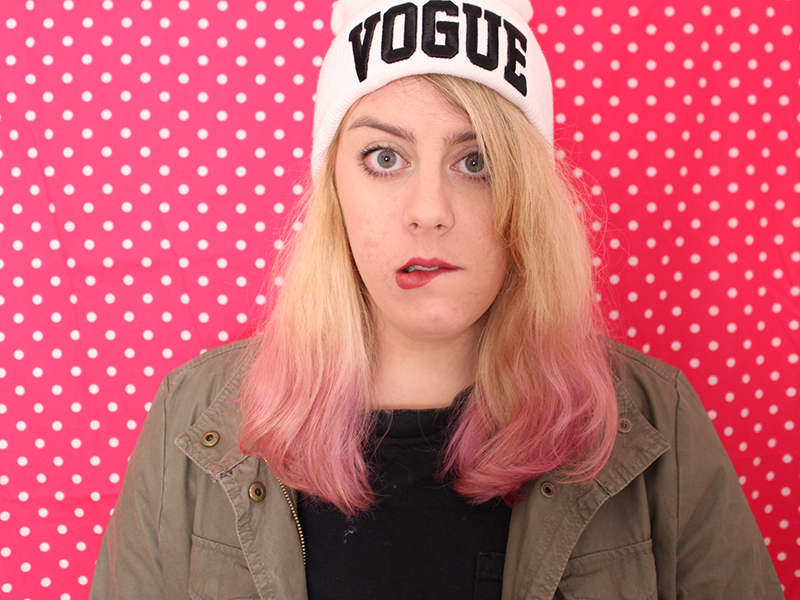
If you haven’t already heard that there’s going to be an all-female Ghostbusters remake, you’re living under a rock. The movie has an amazing cast, featuring arguably the most hilarious women on the planet. Last week, some of the first images from the set were released, and I was pumped to see one of my favorite female comedians, Kate McKinnon, in full spirit-stalking regalia. But after I let the look sink in for a minute, I thought…this is actually an awesome outfit, and I want to steal it.

First off, that leather jacket is on point. It definitely looks like it has a backstory. I’d like to think it came from a thrift store, or that her character found it in her grandpa’s attic. I recently found a similar one at Buffalo Exchange for a meer $20 by B.B. Dakota. It’s not quite as worn-in as Kate’s, but it’s still perfectly oversized and awesome.
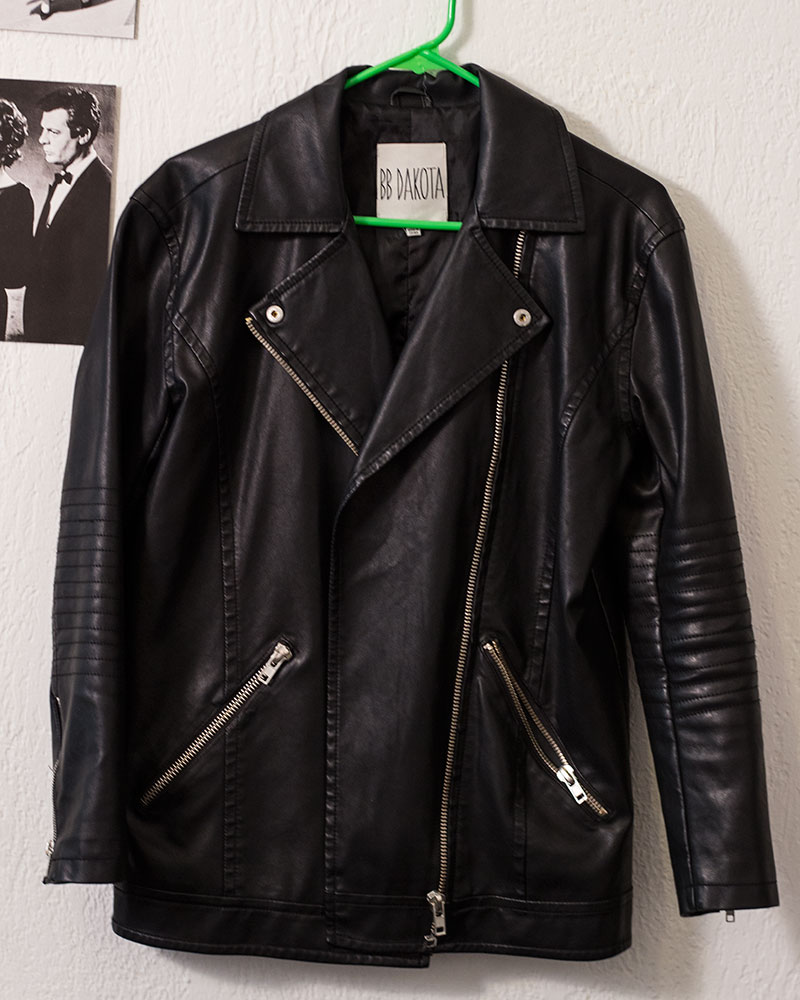
It’s hard to find on-trend leather jackets at thrift stores. But if you’re looking to buy one second hand, consignment stores like Crossroads Trading or Buffalo Exchange are your best bet. If you’re looking for something new, try the options under $100 below. If you buy the fringy one, please send me a photo so I can live vicariously through you.
Kate’s splatter-paint overalls reminded me that I’ve been DYING to make a cool pair of paint-covered boyfriend jeans. I’ve had this photo saved to my desktop for the past 4 months and haven’t gotten around to actually DIY-ing something similar.
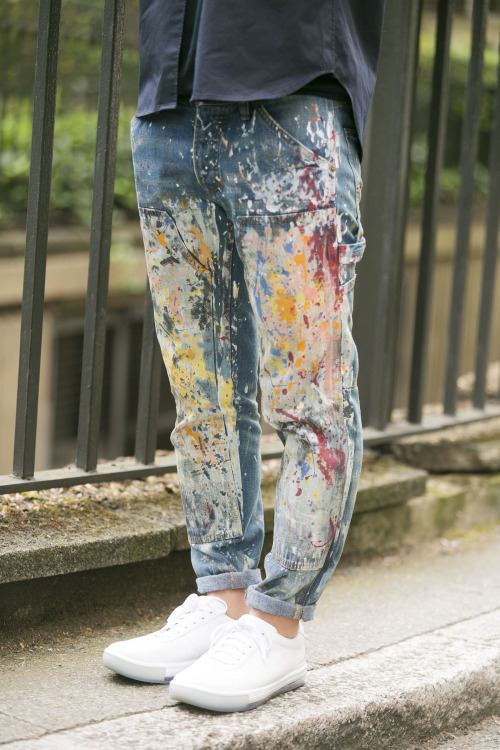
Making a pair of splatter-paint overalls is totally genius, and is more unique than the overdone boyfriend jeans trend. A lot of people are afraid to rock dungarees, so you can typically find a new pair of overalls on the clearance rack at most department stores.
I am ALL ABOUT the combat boots. Every winter, I buy a new pair of combat boots, and by April I’ve completely destroyed them. Since summer has finally arrived, I’m going to stock up on some cool, clearance combat boot styles while they’re cheap. All of these styles are under $50 at the moment (and I just ordered the Topshop pair):
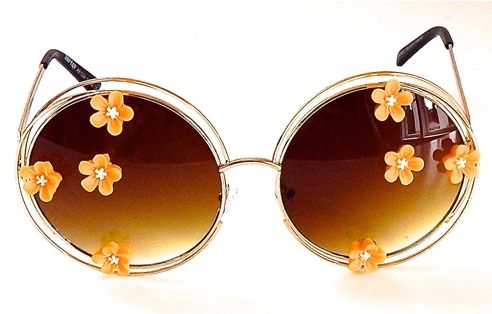
I can’t say I’d wear those ghost-busting yellow goggles on a daily basis, but I’d definitely wear these yellow-tinted Janis Joplin glasses from Gasoline Glamour. If embellishment isn’t your thing, any old pair of Lennon-style sunnies will do.
Throw all of these pieces on with a v-neck tee and you’ve got an epic, Ghostbusters inspired ensemble. I feel confident that this look is a big upgrade from the khaki jumpsuit.
Saturday, April 11th, 2015
Flash tattoos are officially a thing. They’ve been trendy ever since Beyonce made them cool at the end of last summer, and they’re all over Coachella at this very moment. I really love the idea of showing off a tattoo that I can wash off later, but I just can’t get behind the “festival wear” thing. Plus…and call me a hipster/snob if you want…if everyone’s doing something…that makes me want to do it less.
When I saw gorgeous photos of dried flower “tattoos” during a recent Pinterest binge, I knew I had found a flash tattoo inspired DIY I had to try. It was the perfect compromise of festival style, dainty elegance, and originality. My results were everything I had hoped for. Check out how I did it below and learn how to make temporary tattoos from dried flowers at home.
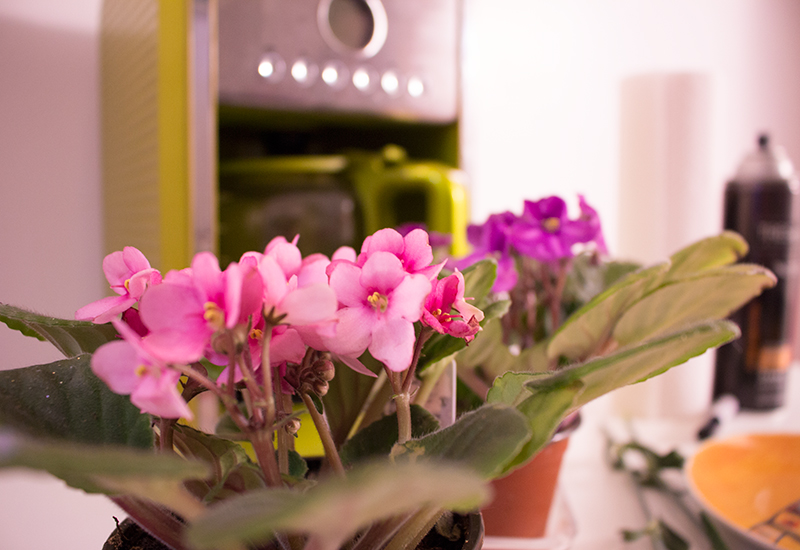
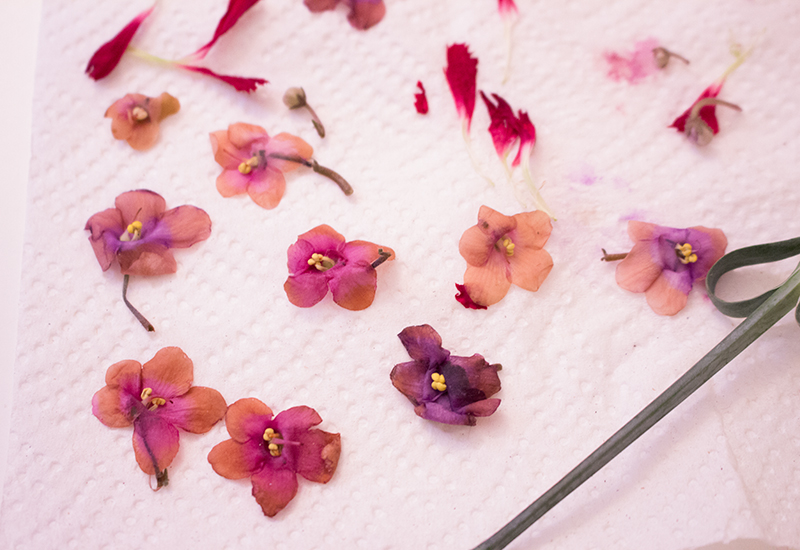
To start off, I headed to the florist. I bought two potted African violets: one with pink flowers and one with dark purple. I figured if I ever wanted to do this again, I’d have a tattoo tree ready for me in my kitchen. They were only $4 a piece. I don’t have much of a green thumb, but maybe I will miraculously keep them alive.
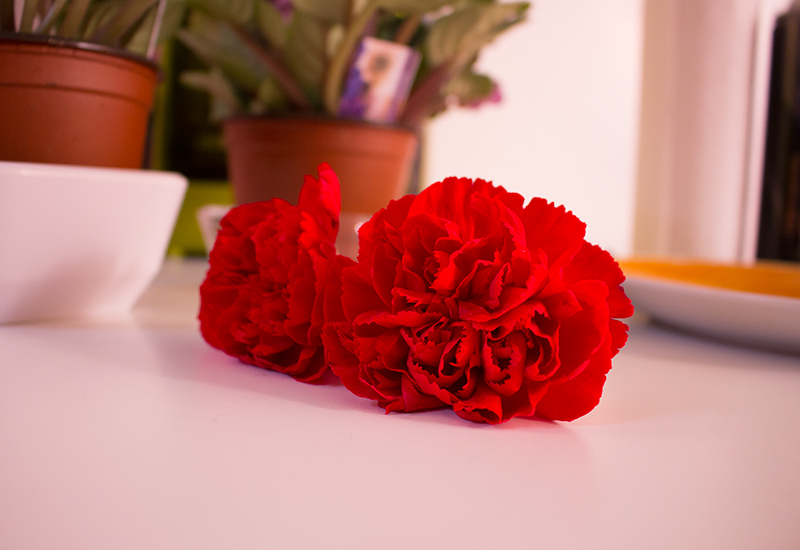
I also wanted some red in my fake tattoos, so I bought two red carnations. I ended up only using one of them for my arms. I felt pretty goofy buying flowers just so I could rip them apart, but, okay.
Pressing flowers the traditional way can take weeks. Instead of sticking my buds in a book and waiting, I dried them out in 30 seconds with a microwave. I put my flowers face down on a paper towel on top of a plate. Then I put another paper towel on top of the blossoms, and then pressed them down with another plate.

The carnations kept a lot more of their color during the drying process. The purple and pink flowers turned brown on the edges and looks a bit transparent. 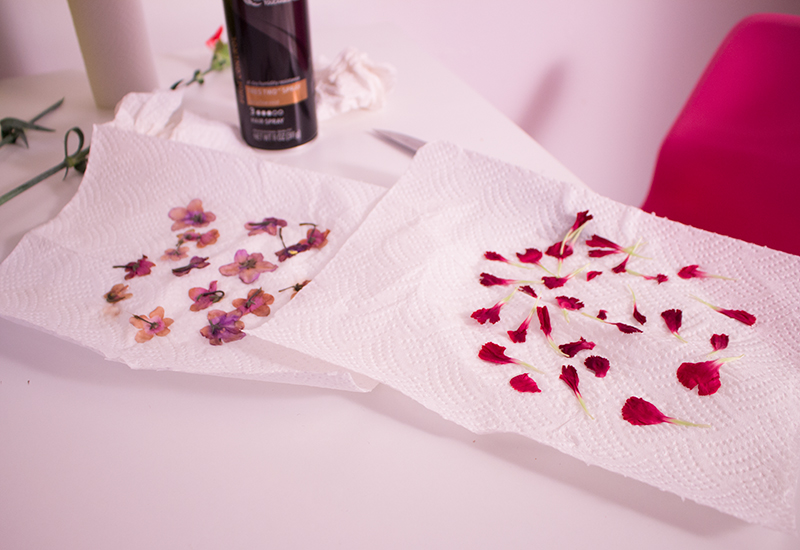
The petals on the carnations were much sturdier than the African violets. I thought it would be easier to let the violets dry a little bit on the paper towel before I pulled them off, (you know how things can be a little moist after you take them out of the microwave?) but that did not work. When using delicate flowers, the key is to take them off of the paper towels immediately, and transfer them right-side-up to a dry paper towel.
To adhere the flowers, I used brush-on eyelash glue. I painted a little bit on my skin and carefully patted the flower into place. On petals that didn’t quite stick, I used the eyelash glue like ModPodge and decoupaged them into place. After I finished my design, I sealed the flowers by spraying them with hairspray. Here’s how it finally turned out:
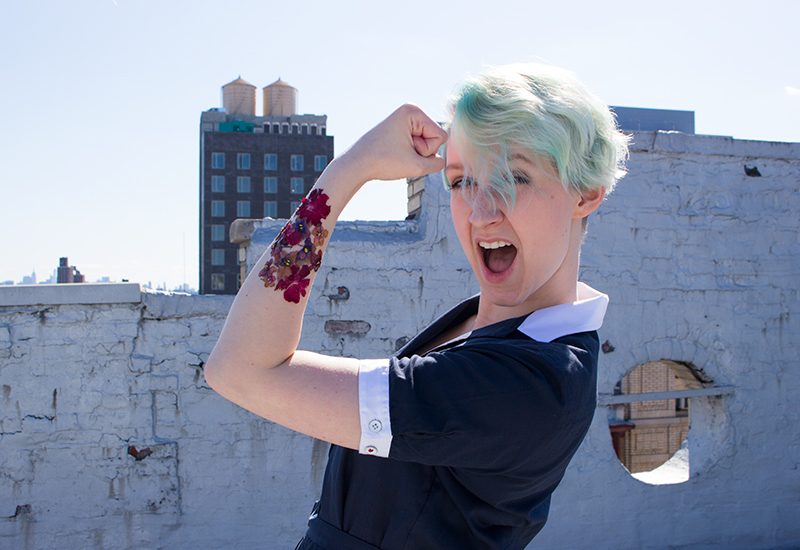
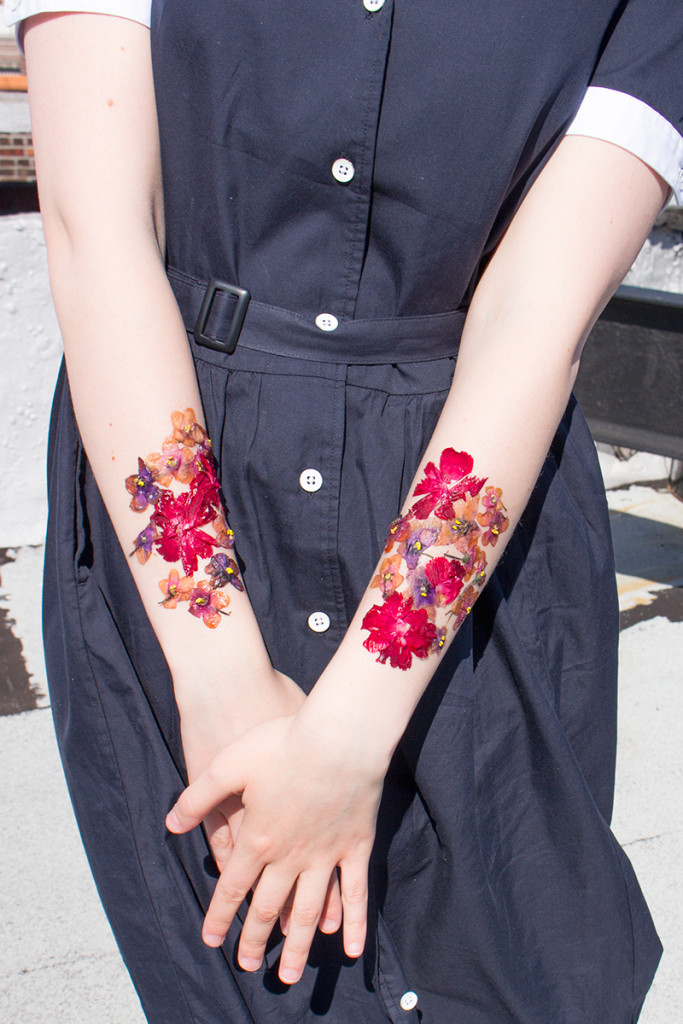
Even though the petals I used to make these tattoos were delicate, the finished product was anything but. They stayed on through wind, under my jacket, and took quite a bit of effort to eventually get off. If you don’t want to commit to having these glued on your arms all day, the tutorial that inspired my process suggests using vaseline to stick on the flowers. I for one will stick to eyelash glue for optimal durability. I’m looking forward to doing this again in the summer for outdoor parties, concerts, or days spent drinking cocktails in the sun.

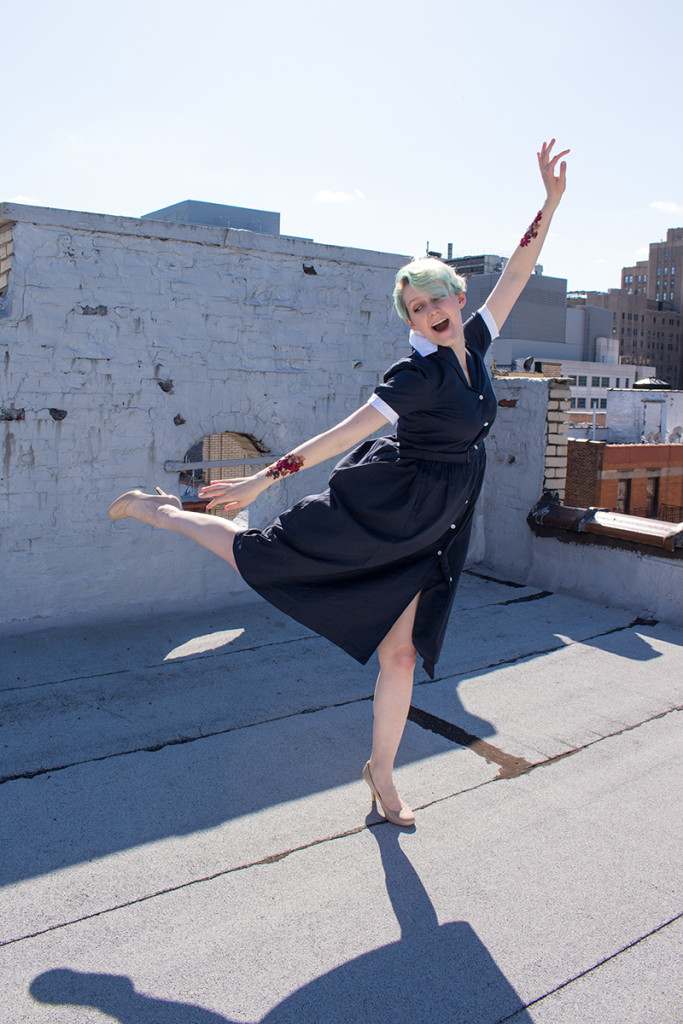
Also, I am OBSESSED with this blue tea dress from Uniqlo’s Ines de La Fressange collection. I’d been eying it for awhile before purchasing, and it was definitely $50 well spent. It makes me feel like Audrey Hepburn…if Audrey Hepburn had mint green hair.
Wednesday, March 25th, 2015
“Mermaid hair” is a thing right now. It is having a major moment. Ask any fashionable lady under age 30 who’s used Pinterest or Tumblr and she’ll know exactly what “mermaid hair” is. Made popular by rumored lip injection enthusiast Kylie Jenner, if you have “mermaid hair,” you have long, thick hair in a pastel or neon hue, invoking visions of shiny scaled mythical sea creatures. But as a short-haired lady who loves her some Manic Panic, I feel the need to make an official statement on mermaid hair. And that is, fairy hair is better.
Fairy hair is a term I am coining right now. When this blows up on Tumblr, credit me, please. If luscious-locked women get Princess Ariel as their mascot, then I’m calling Tinkerbell for those of us with pixies and short bobs. Tinkerbell is way sassier than Ariel anyway so, win-win for us.
To prove that colored and cropped is beautiful, check out the hair inspiration photos below. I know I’m going to have a hard time choosing which color I want to go for next.
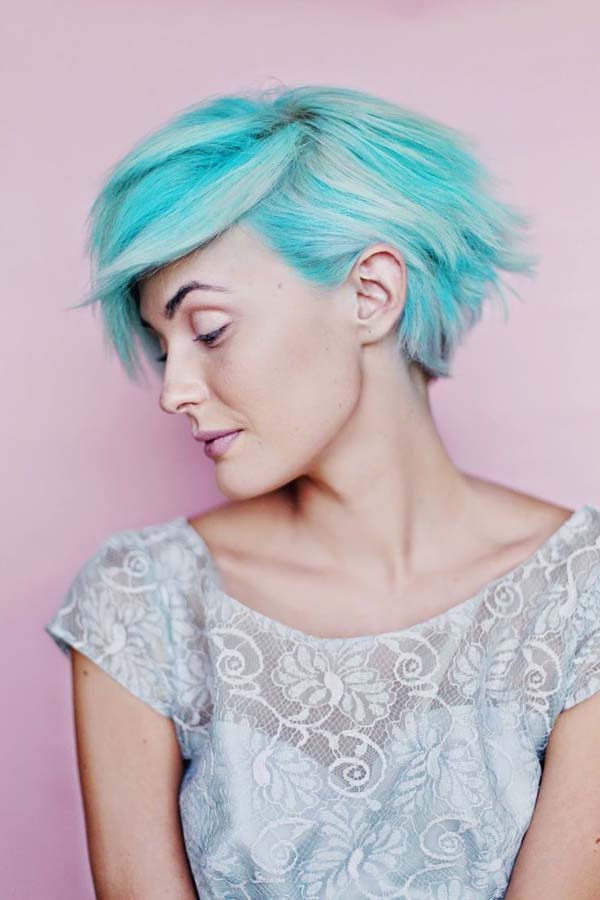
(source)
You can achieve this aqua color using Manic Panic’s Atomic Turquoise, but you might need a little bit of help getting it out of your hair later.
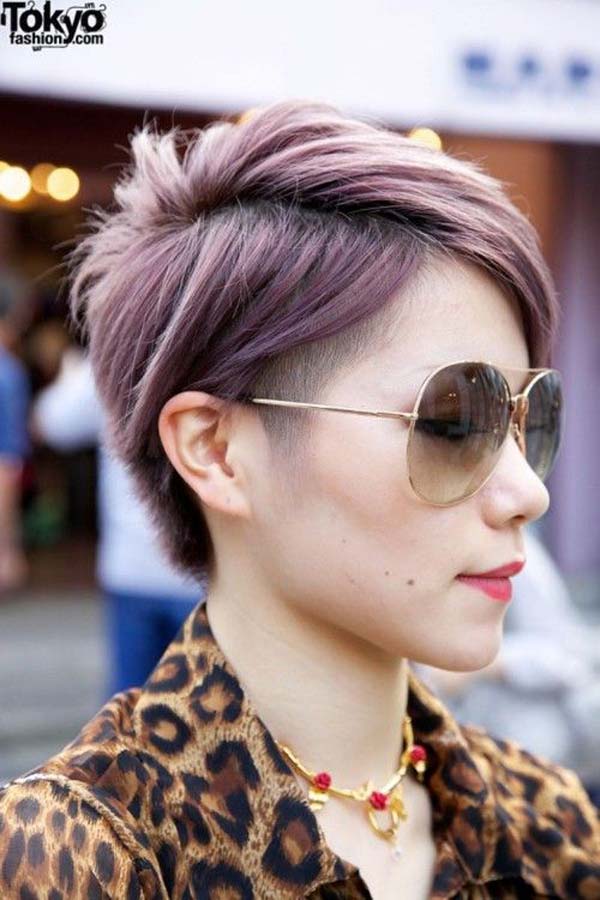
(source)
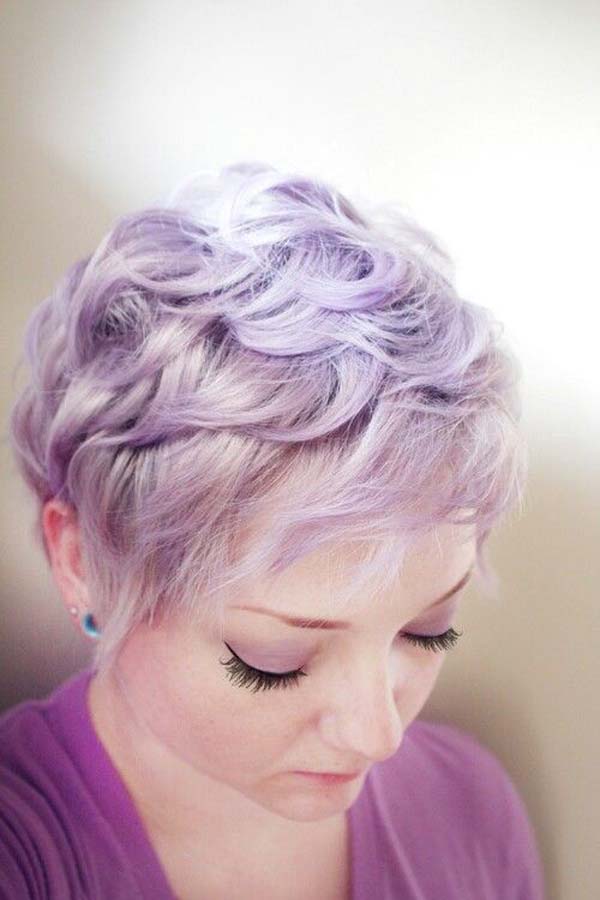
This purple tone has a cool, grayish hue to it. Silver hair is not just for grannies anymore and is way trendy right now. For a cool pastel purple, dilute Manic Panic’s Violet Night with white hair conditioner. If you’re looking for a warmer purple, go with Mystic Heather.
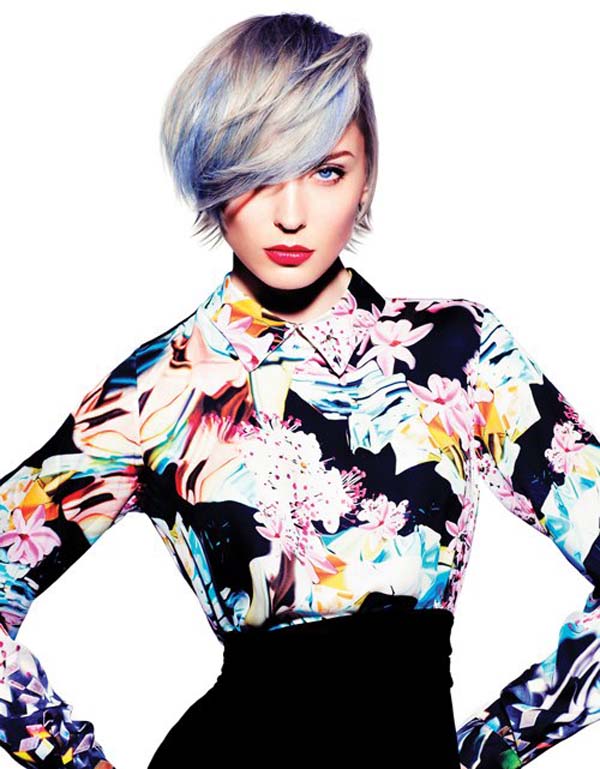
(source)
Don’t want to dye your whole head? Try out a few streaks or highlights and see how you like it first! You can achieve this color with Blue Moon. Make sure to wrap your strands in plastic wrap after you paint on the dye, so it doesn’t leak into other strands of hair.
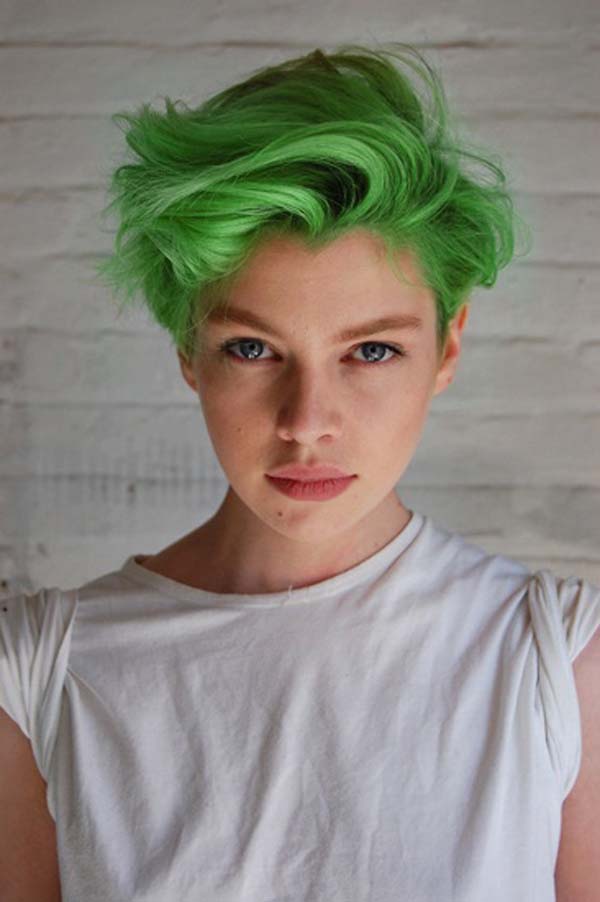
(source)
I’ve been thinking about doing this shade of green next on my own hair. I have green eyes and I think it would look really trippy. I’m going to use Electric Lizard to get this shade, but won’t dilute the dye with hair conditioner like I usually do. I want the full effect, no pastel shades this time!
(source)
You could achieve this color with Mystic Heather and a lot of white conditioner. This looks like it has faded from a darker hue, but OMG I WISH MY HAIR HAD THAT TEXTURE. I love how this looks with a little bit of curl.
(source)
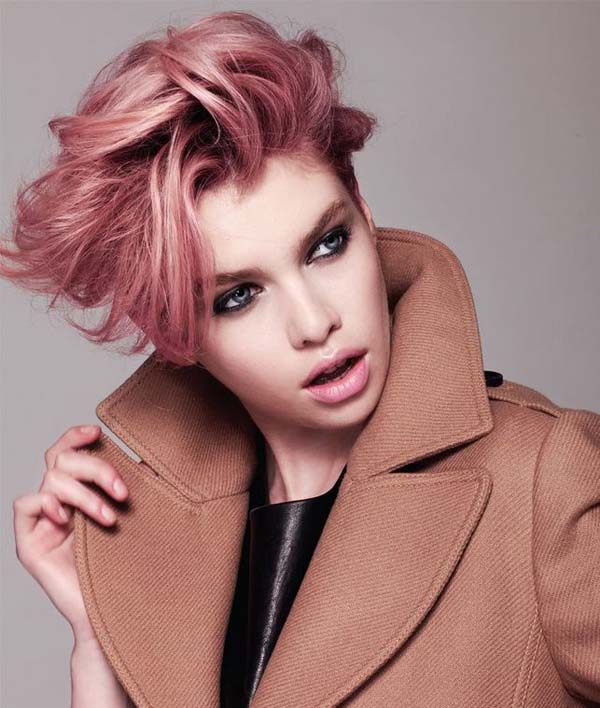
I’ve achieved this peachy pink color before by mixing Pretty Flamingo and Cotton Candy pink dyes together, then diluting the mix with hair conditioner. I love this color because it’s girly and fun, and pink fades quite quickly so you can do another color ASAP!
Monday, November 3rd, 2014
Last week, my dear friend and Cheap Bitch contributing writer Hannah let me give her pastel purple ombré hair. She’s a brave soul, letting me touch her Manic Panic virgin locks. But it turned out SICK (like, good sick, not gross sick) and here’s how I did it.
It’s worth noting that Hannah’s hair is not naturally blonde. We didn’t use any bleach on her hair before coloring it, but her hair had been previously dyed by a professional. If your hair is naturally this light, you may need to leave the dye on for a longer period of time, as your hair will not be as porous as chemically lightened hair.
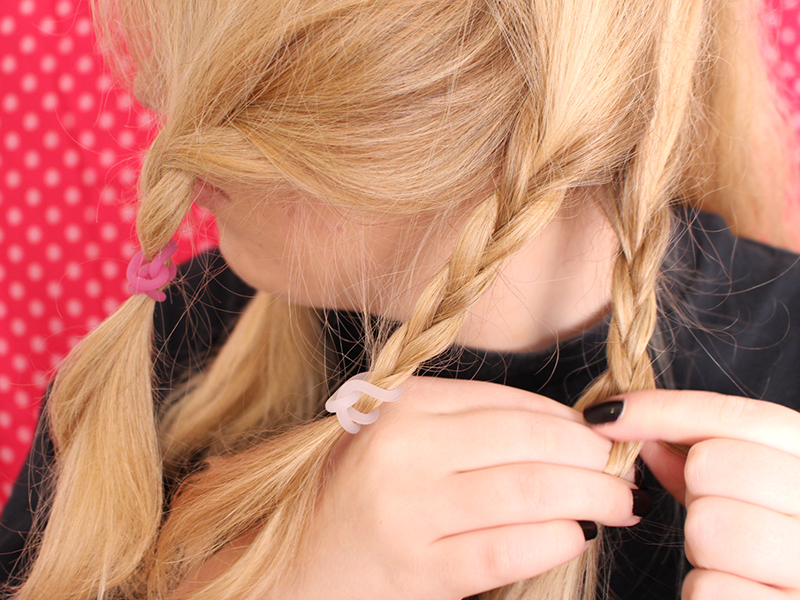
First, Hannah and I team-worked on braiding her hair into small sections. We tied the braids with soft hairbands at the point where she wanted the ombré to end. We tied her hair into braids instead of ponytails so the purple faded into the blonde, versus creating a flat line where the purple ended.
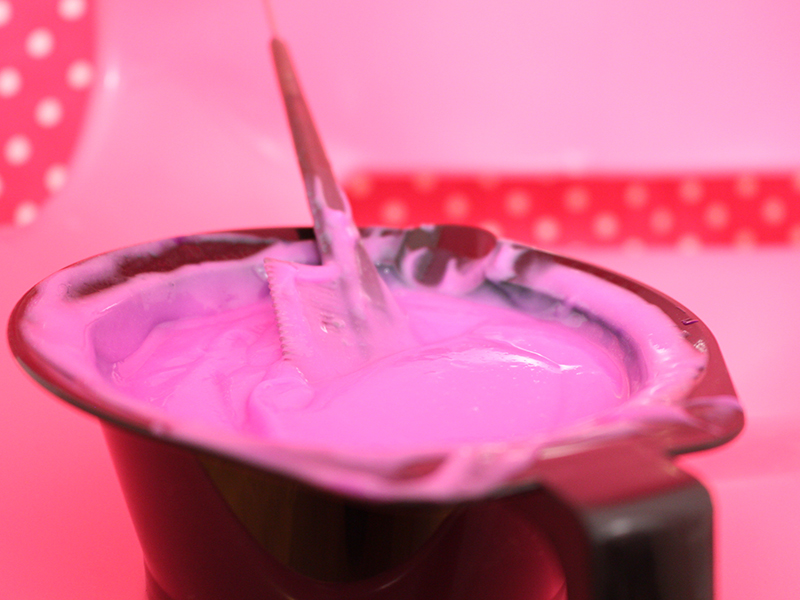
Next, we mixed up our dye using Manic Panic Cotton Candy, a tiny dab of Ultra Violet (this sh** is intense, so be careful with it if you’re looking to achieve more pink than purple) and diluted it to a pastel color with white hair conditioner.
Then we applied the dye from the ends of her hair to the hairbands. Since Hannah’s hair is super thick, I applied several coats and rubbed each section between the palms of my hand to make sure it was fully saturated.

We let Hannah’s dye sit for 40 minutes. I then removed the hairbands. When you pull the hairband over the dyed section of hair, it removes the light-colored remnants of dye and conditioner. The dye and conditioner is lighter because the pigments have attached to the hair. It’s a good sign!
I used these less-concentrated dye leftovers at the top of each ombre section to create a natural looking fade. I ran my fingers through each section and let the dye sit for another 15 minutes.

Then I rinsed and blow-dried Hannah’s hair. I felt like a fancy hair dresser. It was fun. Here’s the final results:
So much sass. Can’t handle. **Dead**.