Saturday, April 11th, 2015
Flash tattoos are officially a thing. They’ve been trendy ever since Beyonce made them cool at the end of last summer, and they’re all over Coachella at this very moment. I really love the idea of showing off a tattoo that I can wash off later, but I just can’t get behind the “festival wear” thing. Plus…and call me a hipster/snob if you want…if everyone’s doing something…that makes me want to do it less.
When I saw gorgeous photos of dried flower “tattoos” during a recent Pinterest binge, I knew I had found a flash tattoo inspired DIY I had to try. It was the perfect compromise of festival style, dainty elegance, and originality. My results were everything I had hoped for. Check out how I did it below and learn how to make temporary tattoos from dried flowers at home.
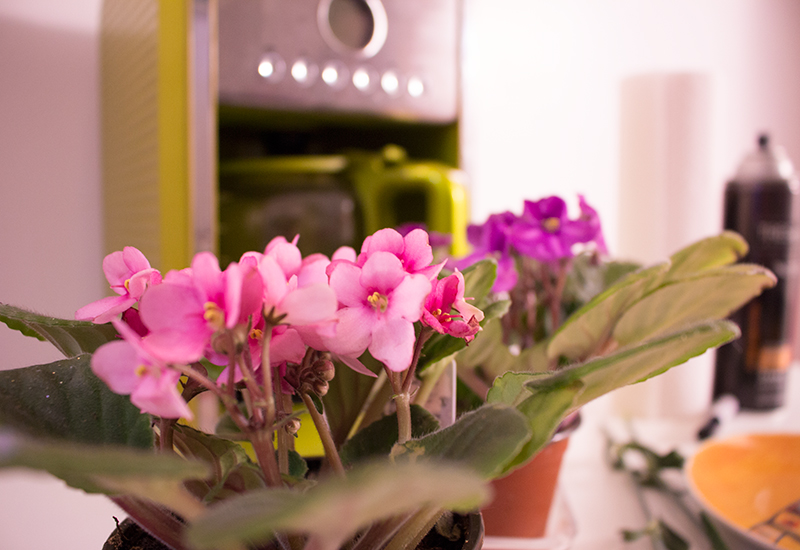
To start off, I headed to the florist. I bought two potted African violets: one with pink flowers and one with dark purple. I figured if I ever wanted to do this again, I’d have a tattoo tree ready for me in my kitchen. They were only $4 a piece. I don’t have much of a green thumb, but maybe I will miraculously keep them alive.
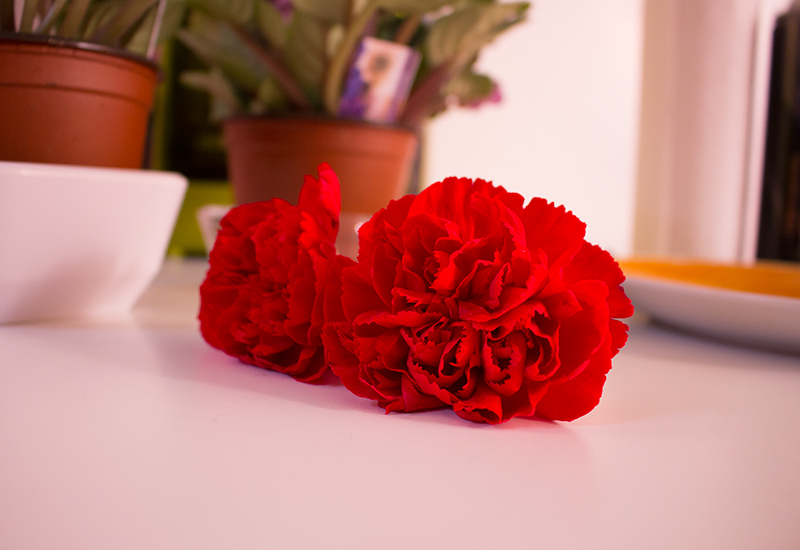
I also wanted some red in my fake tattoos, so I bought two red carnations. I ended up only using one of them for my arms. I felt pretty goofy buying flowers just so I could rip them apart, but, okay.
Pressing flowers the traditional way can take weeks. Instead of sticking my buds in a book and waiting, I dried them out in 30 seconds with a microwave. I put my flowers face down on a paper towel on top of a plate. Then I put another paper towel on top of the blossoms, and then pressed them down with another plate.
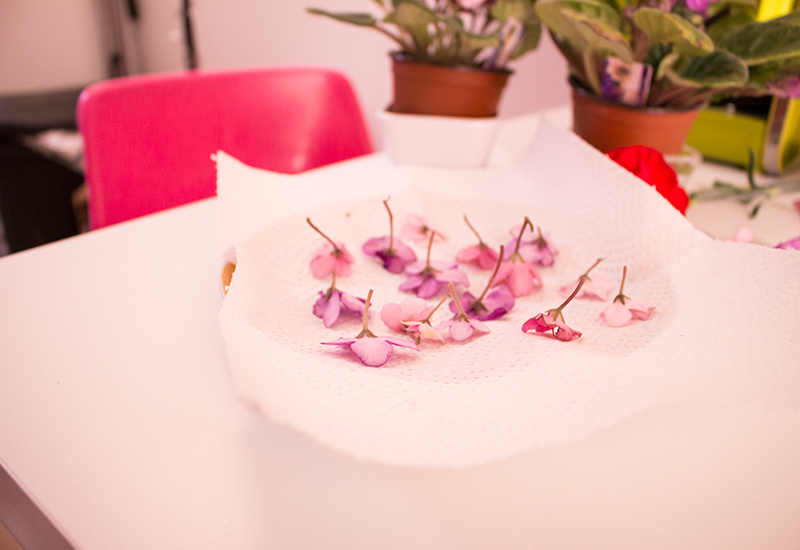
The carnations kept a lot more of their color during the drying process. The purple and pink flowers turned brown on the edges and looks a bit transparent. 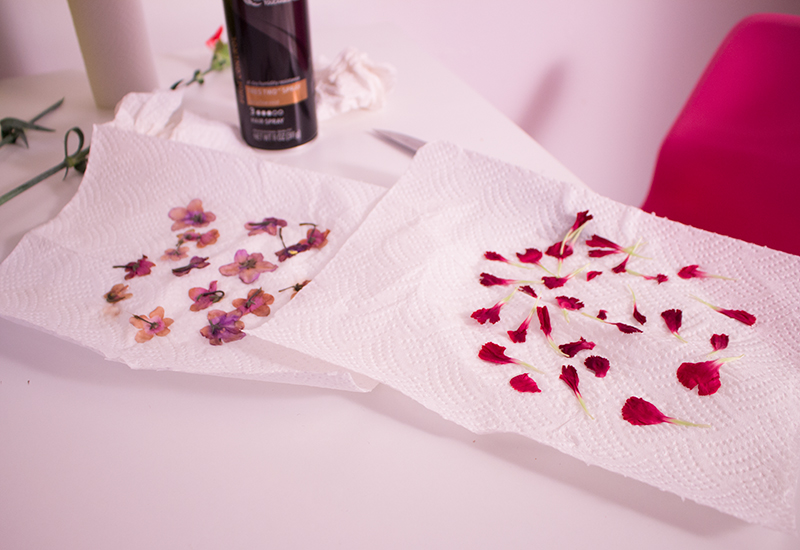
The petals on the carnations were much sturdier than the African violets. I thought it would be easier to let the violets dry a little bit on the paper towel before I pulled them off, (you know how things can be a little moist after you take them out of the microwave?) but that did not work. When using delicate flowers, the key is to take them off of the paper towels immediately, and transfer them right-side-up to a dry paper towel.

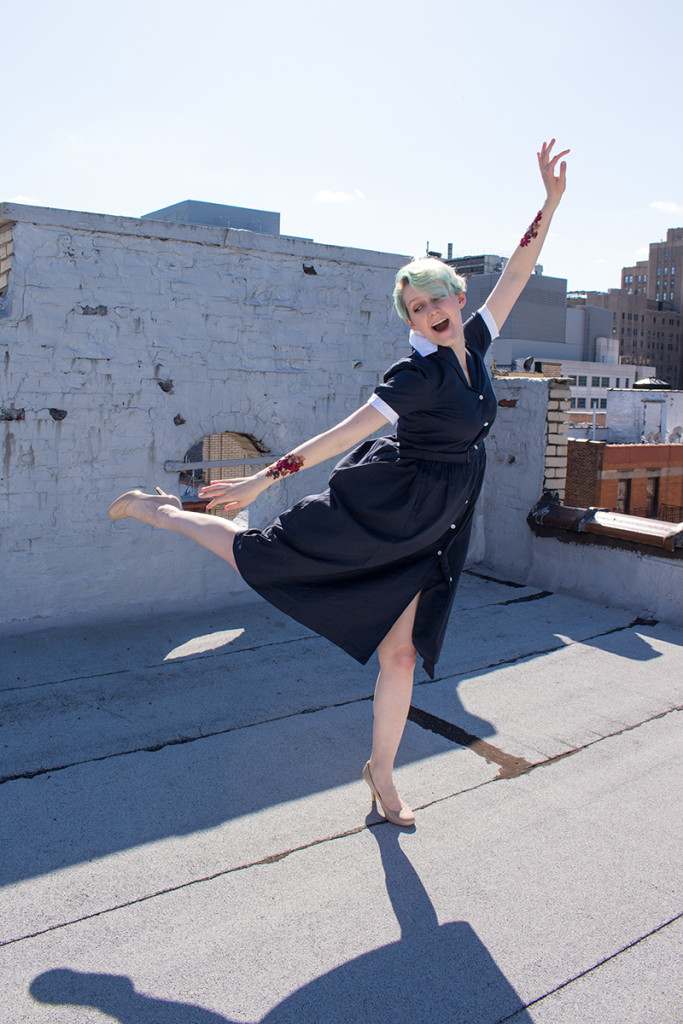
To adhere the flowers, I used brush-on eyelash glue. I painted a little bit on my skin and carefully patted the flower into place. On petals that didn’t quite stick, I used the eyelash glue like ModPodge and decoupaged them into place. After I finished my design, I sealed the flowers by spraying them with hairspray. Here’s how it finally turned out:
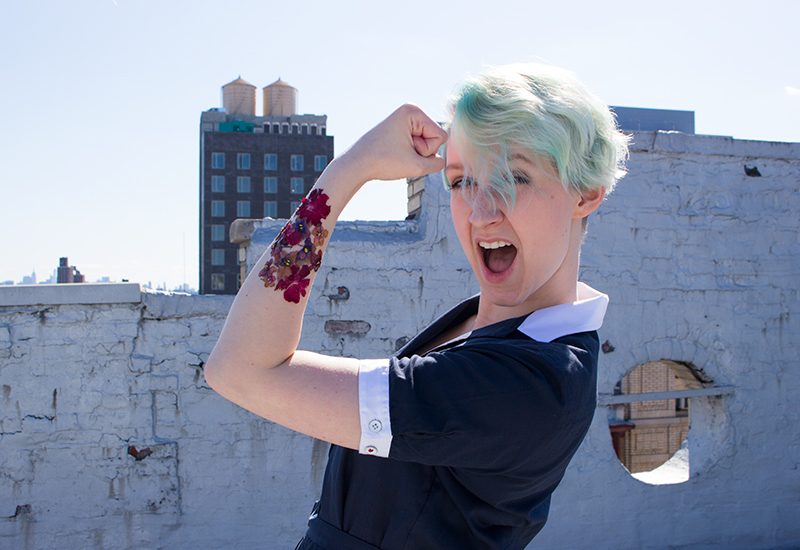
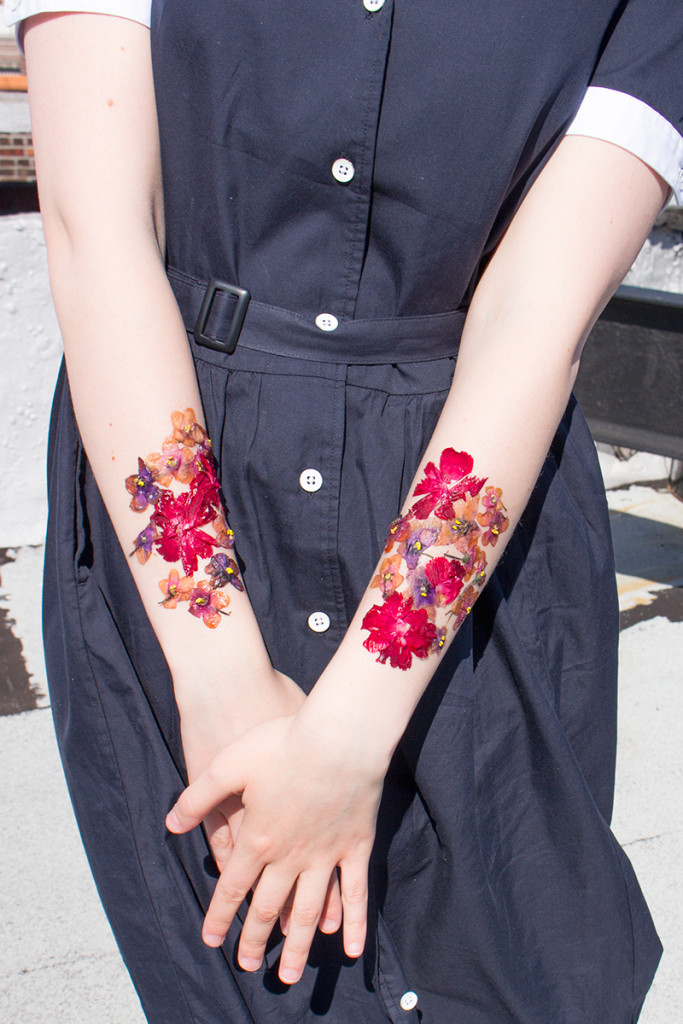
Even though the petals I used to make these tattoos were delicate, the finished product was anything but. They stayed on through wind, under my jacket, and took quite a bit of effort to eventually get off. If you don’t want to commit to having these glued on your arms all day, the tutorial that inspired my process suggests using vaseline to stick on the flowers. I for one will stick to eyelash glue for optimal durability. I’m looking forward to doing this again in the summer for outdoor parties, concerts, or days spent drinking cocktails in the sun.
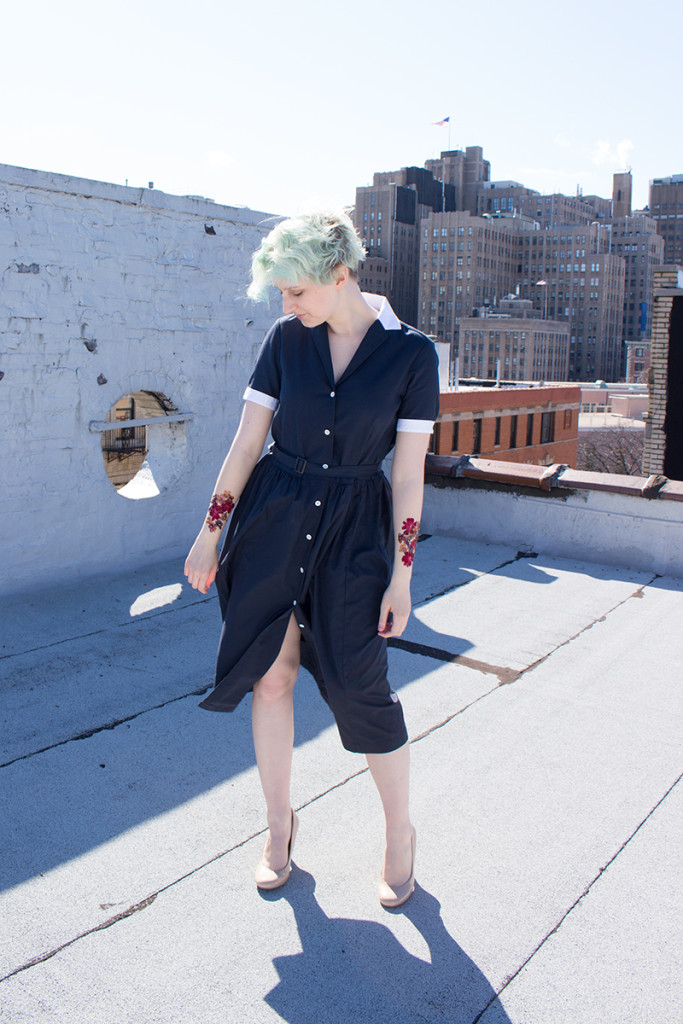
Also, I am OBSESSED with this blue tea dress from Uniqlo’s Ines de La Fressange collection. I’d been eying it for awhile before purchasing, and it was definitely $50 well spent. It makes me feel like Audrey Hepburn…if Audrey Hepburn had mint green hair.
